October
Major set back today when I read on the Ultima forum that the Getrag box is now in the region of £9000!! Can't justify spending that much on a box, so I'll have to revise my building plan unless I can find a second-hand box.
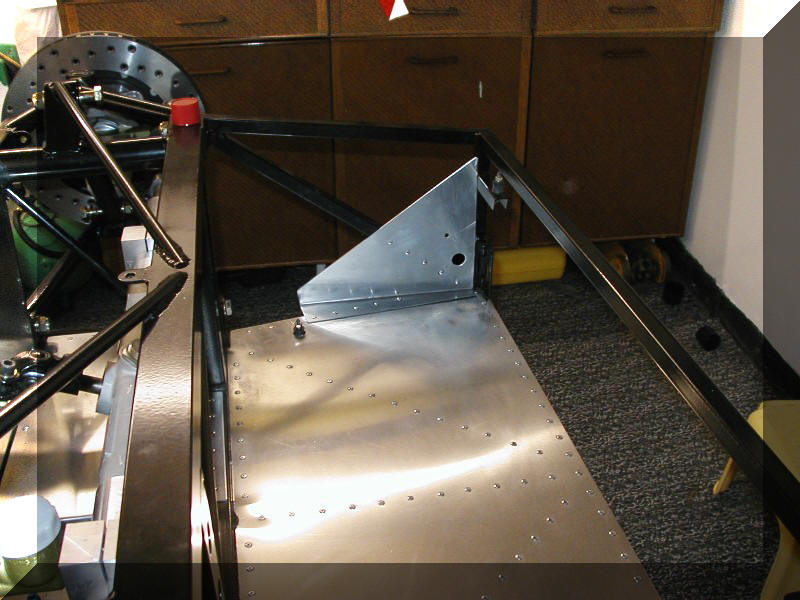
Only a couple of hours in the garage today, Matthew came over to give a hand turning the chassis back over to enable me to mark out the radiator panel and the floor panel. I forgot to do these before we turned the chassis previously. The floor panels have now been drilled, deburred, and the chassis drilled and deburred.
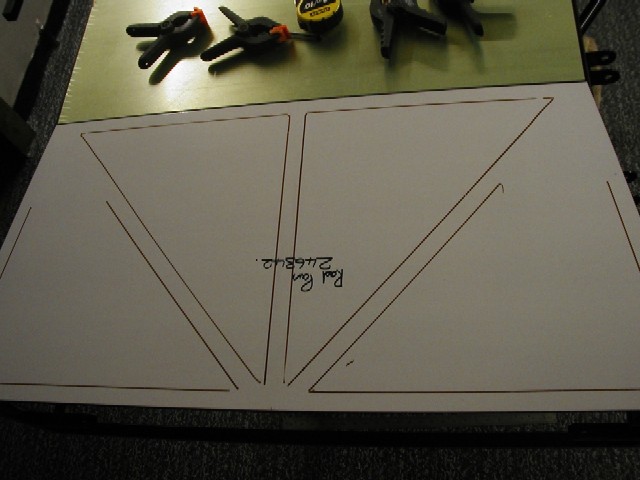
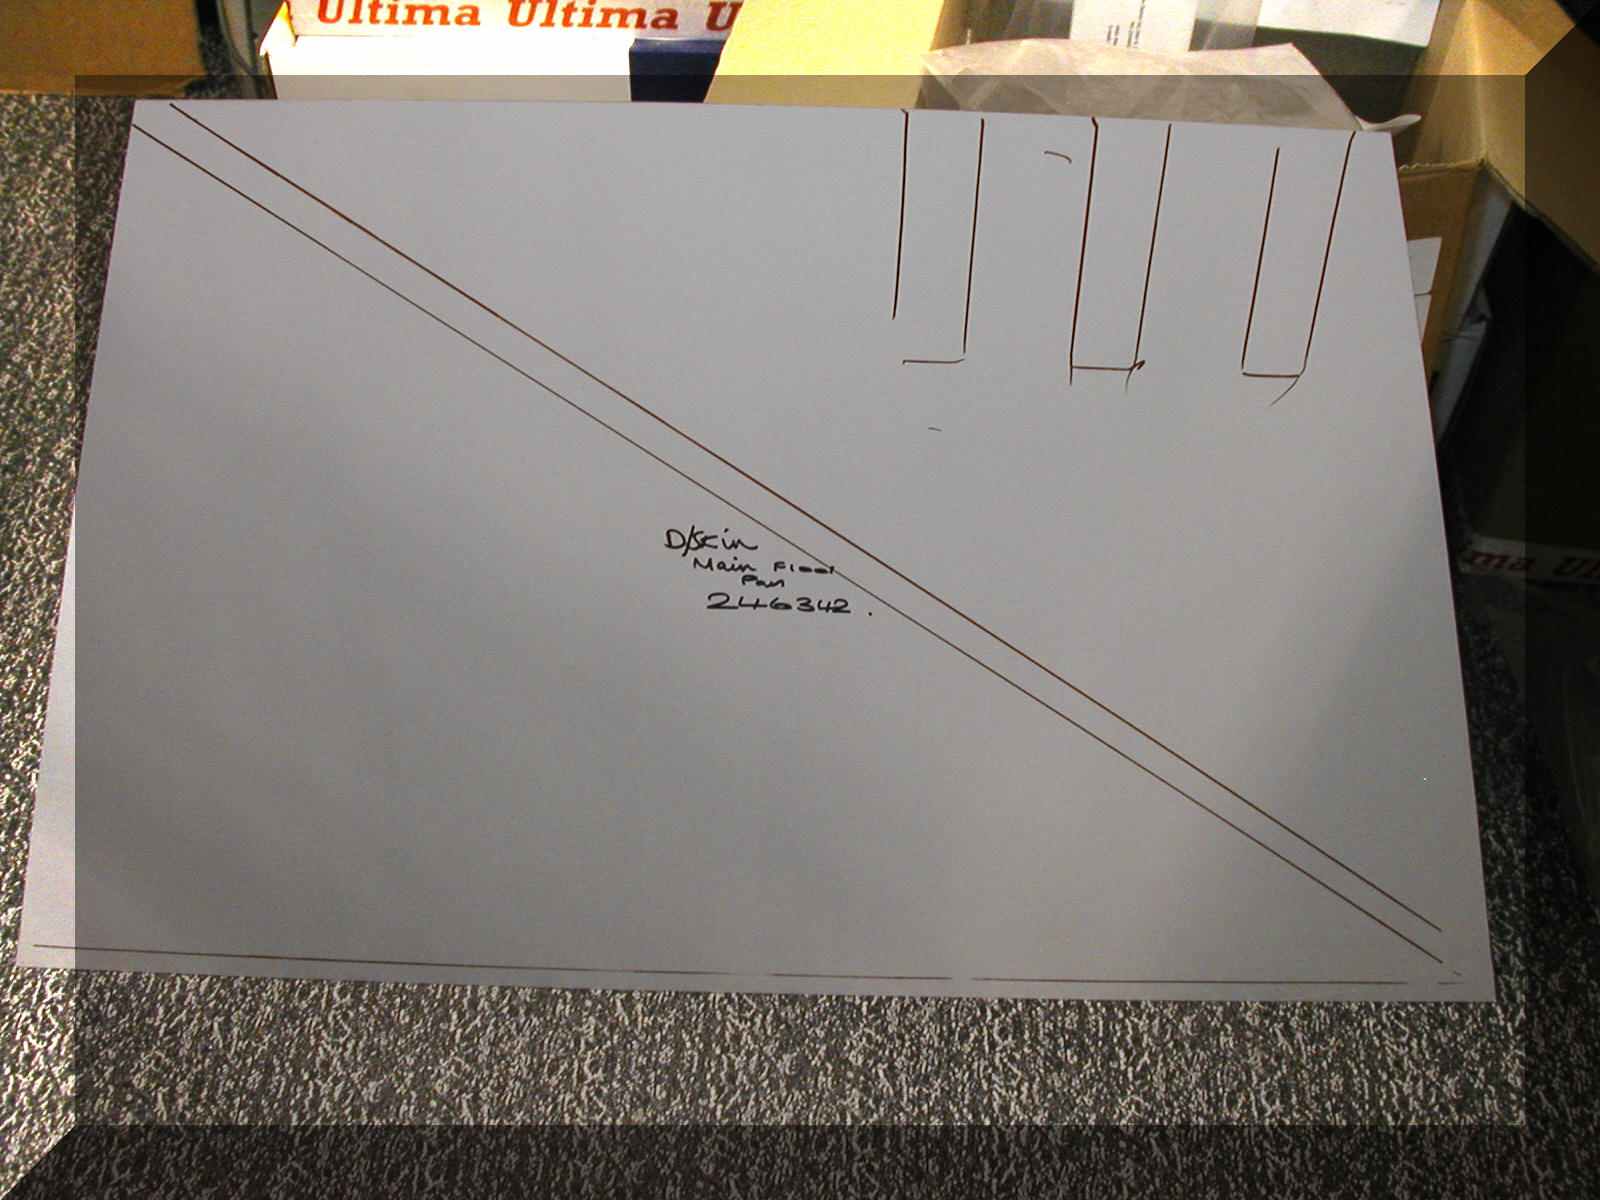
I am now starting the inner floor panel, dreading this one! The CD is a bit vague on this so I defer to the build sites to get a better idea. After marking out I decided to cut a small piece from around the pedals (to get the panel to sit flat) I could then see the cross member and if I had it marked correctly
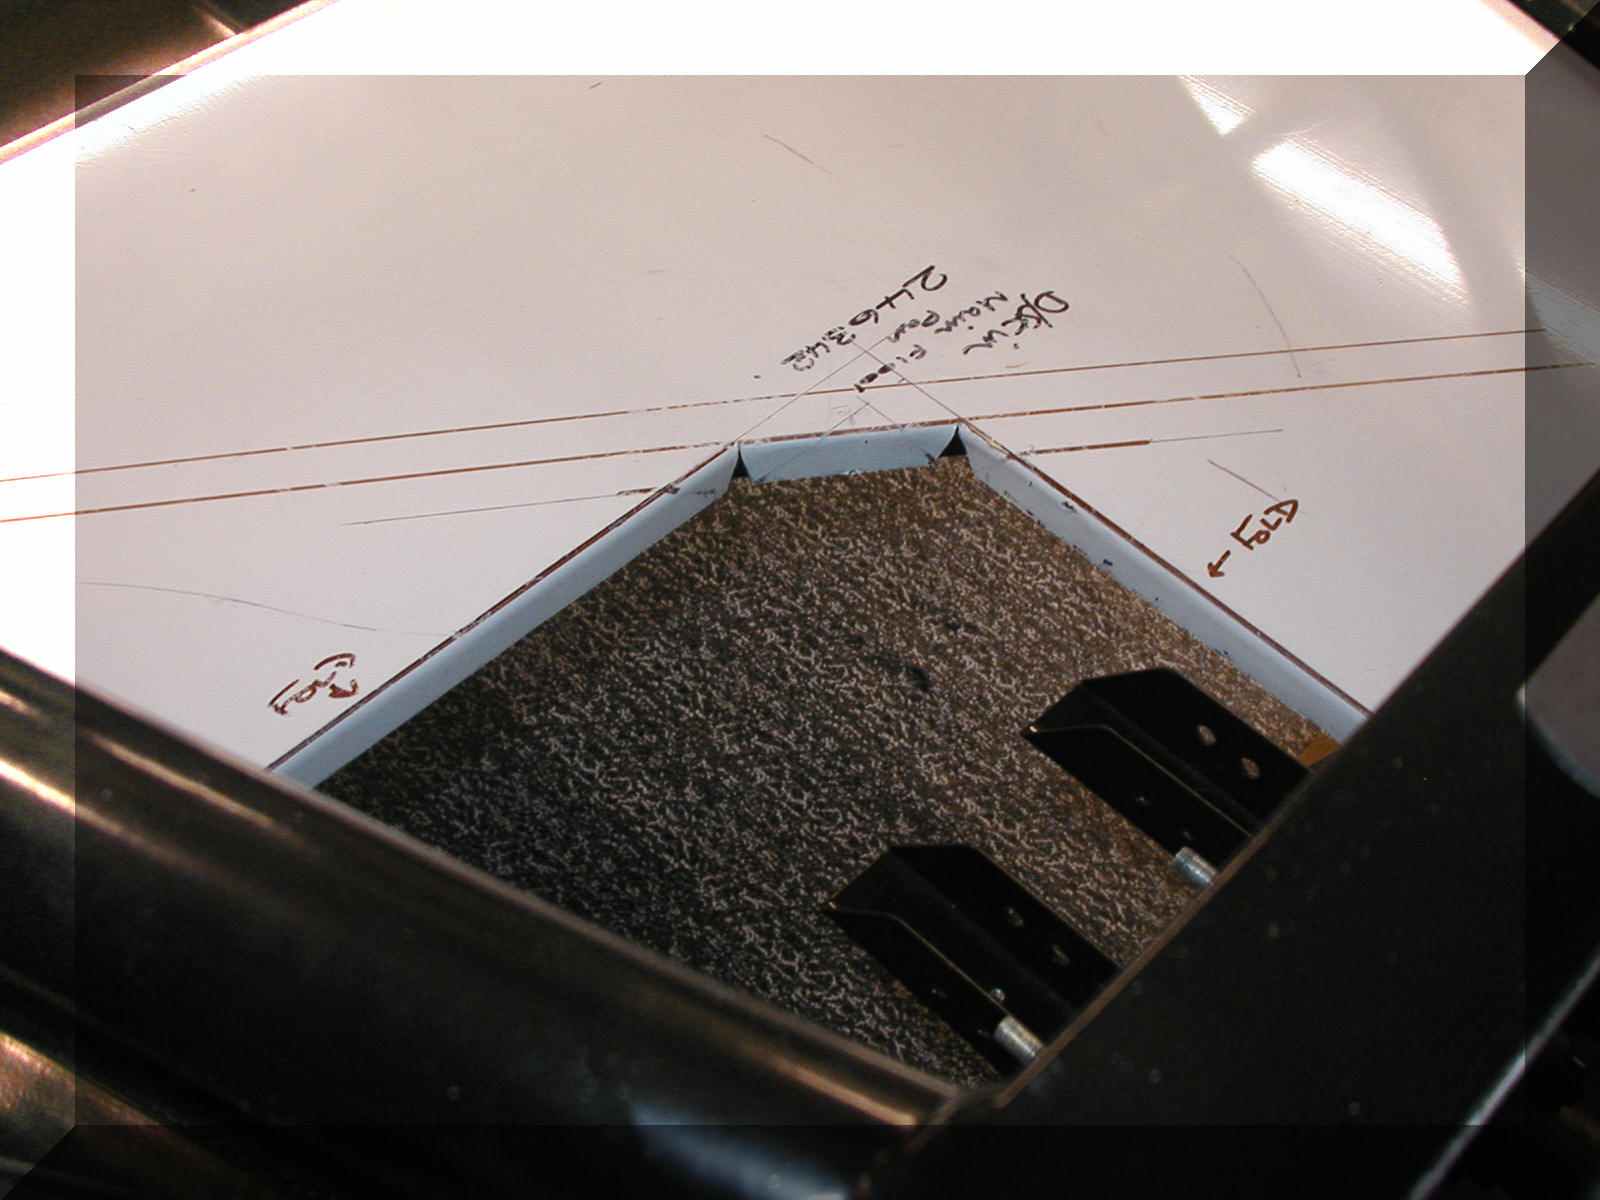
After measuring the 270mm x 270mm for the cut out it and then 20mm for the fold around the cross brace, it was out with the air nibbler. Once the cuts were made and the panel refitted, it started to become clear how it would bend over the rail and where the corner cuts were to be made, then it was down to bending the at the folds!
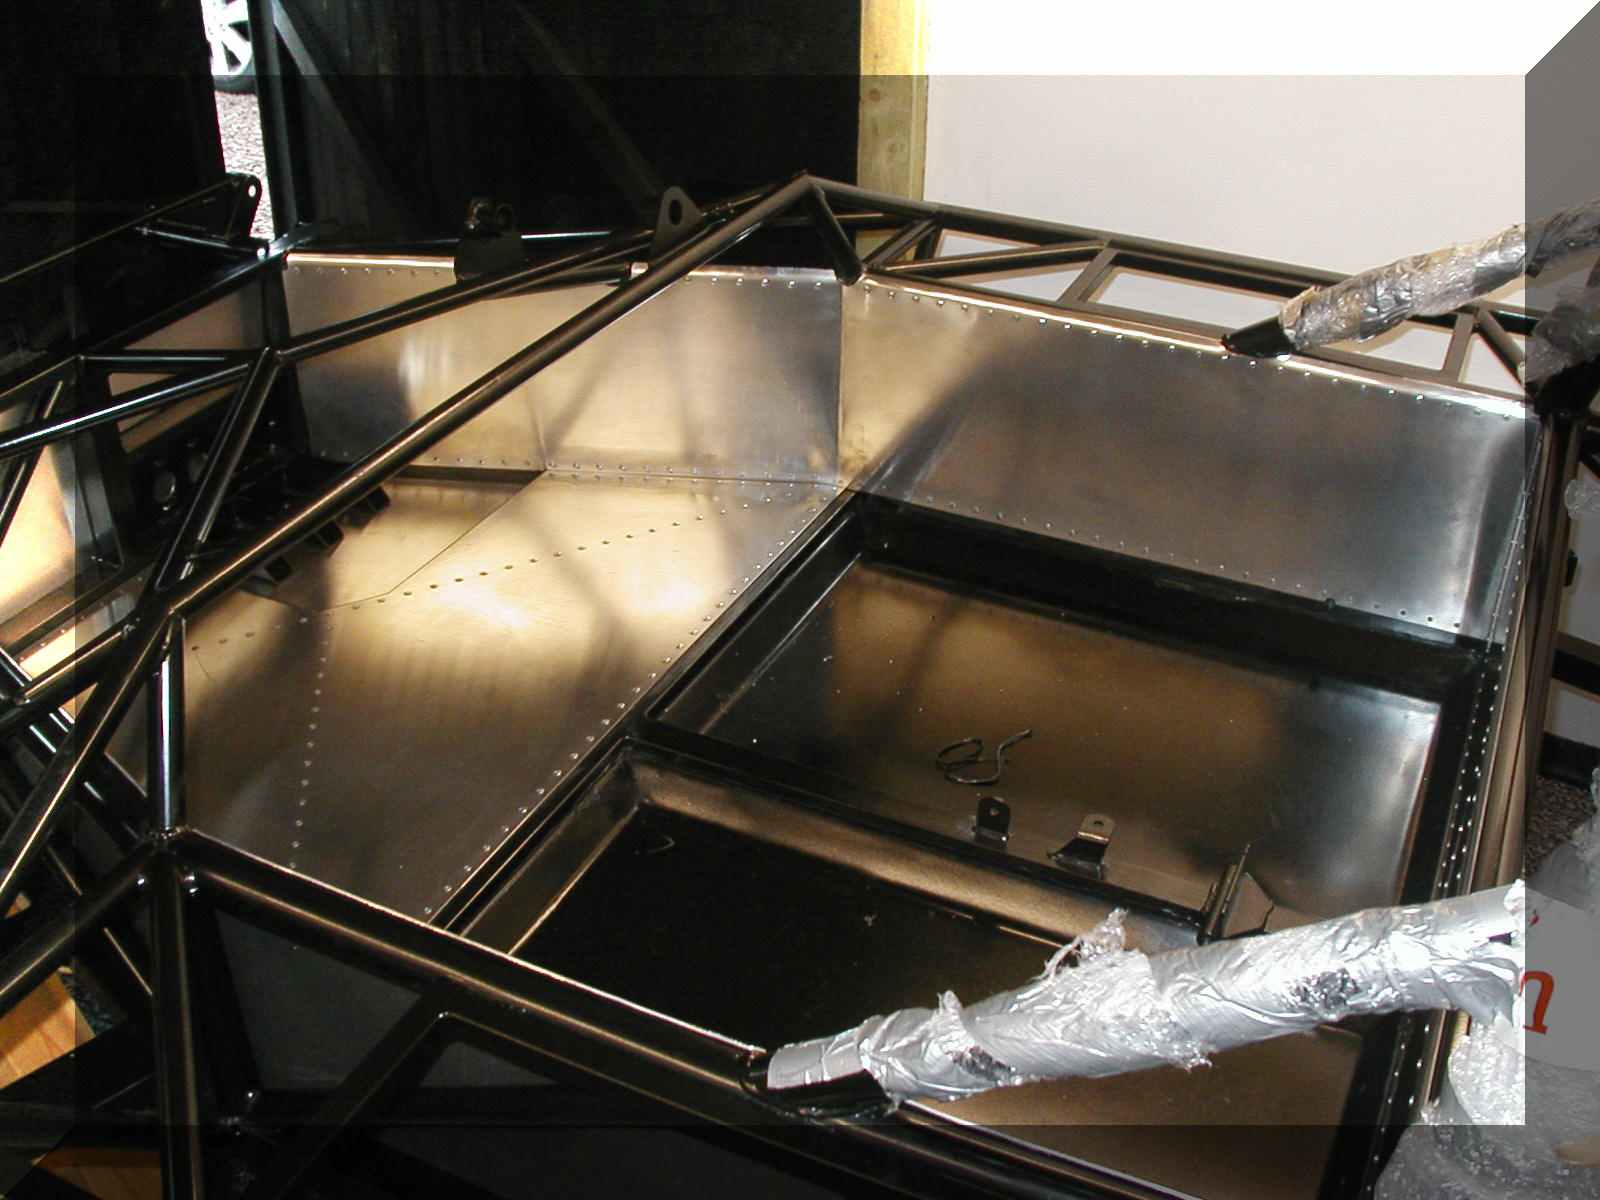
Battery box goes in next, spent what seemed like hours getting this to fit but it pays off to take your time over getting it to fit around the rails.
Next box to be emptied contained the pedals, these are quite straight forward 'if you remembered to grind away the powder coating from the fixing holes in the chassis mounts' You might also have to take a small wire wheel to clear away the powder coating from inside the heel of the pedals where the collar fits. This done the next job is with the clutch pedal, the 'slot' at the back needs to be elongated so that you get more travel from the pedal, this will stop the actuating arm from bending if the pedal is pushed past the point where the arm contacts the pedal. The assembly is quite detailed in the CD for the clutch and the brake bias arm. I was able to rotate the arms to thread them into the bias bar and clutch pedal, others have rotated the master cylinders or disconnected the arms from the cylinders altogether.
I have yet to finally set them up, as I'm still struggling with the accelerator cable.
The good news is that I've located a box.
Paid the factory a visit to pick up my uprights/hubs that were missing off the original delivery, and while I was there spoke about the delivery of the body, which we agreed on the beginning of December (Andy said I should be ready for it by then!!!) I also brought wheels and tyres.........Jeeez they are massive when stood on their own!!!!!! luckily I was in my wife's Mondeo, even that was a tight fit but they do look good got the rears as a coffee table in the conservatory!!

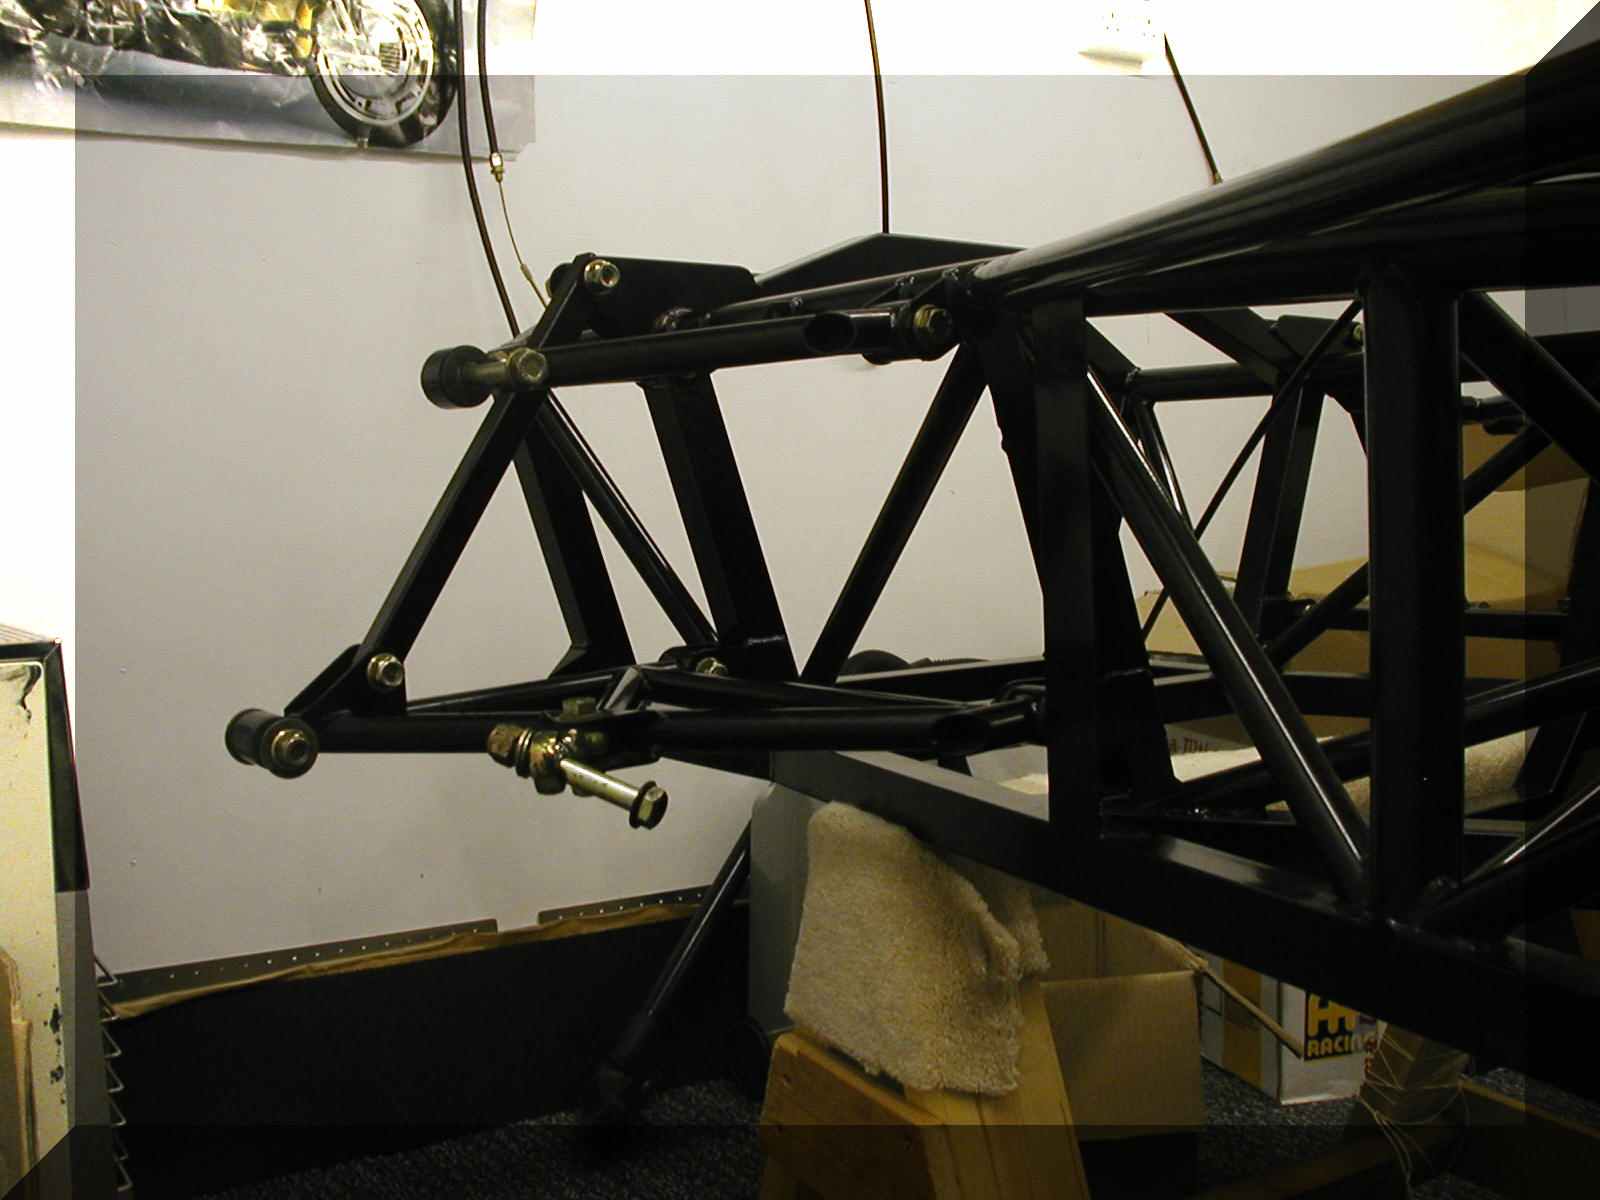
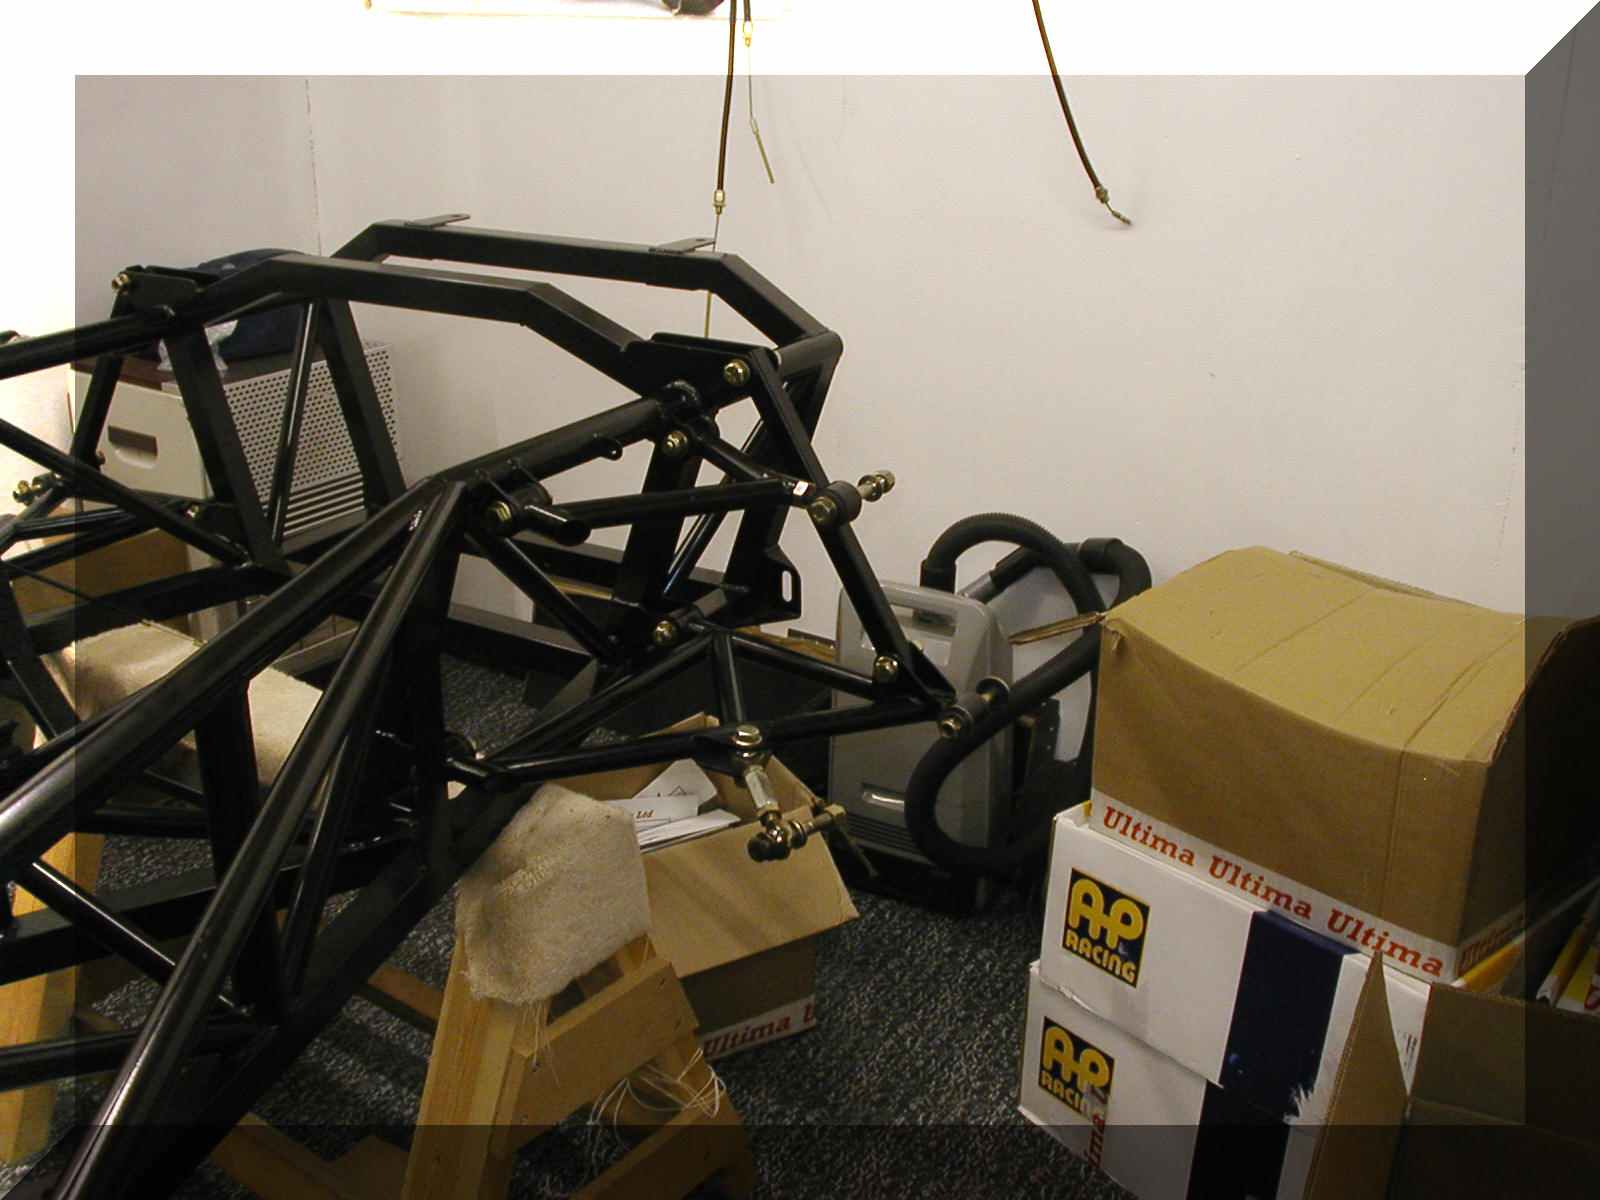
Well, I'm following the build manual and the next up are the wishbones which are quite straight forward, I consult the CD for more information and notice that the wishbones are further down to build, I've got them on now so I finished them. Also I have attached the steering rack, although not happy about the 'feel' of the rack, it's not a smooth operation, probably contact the factory.
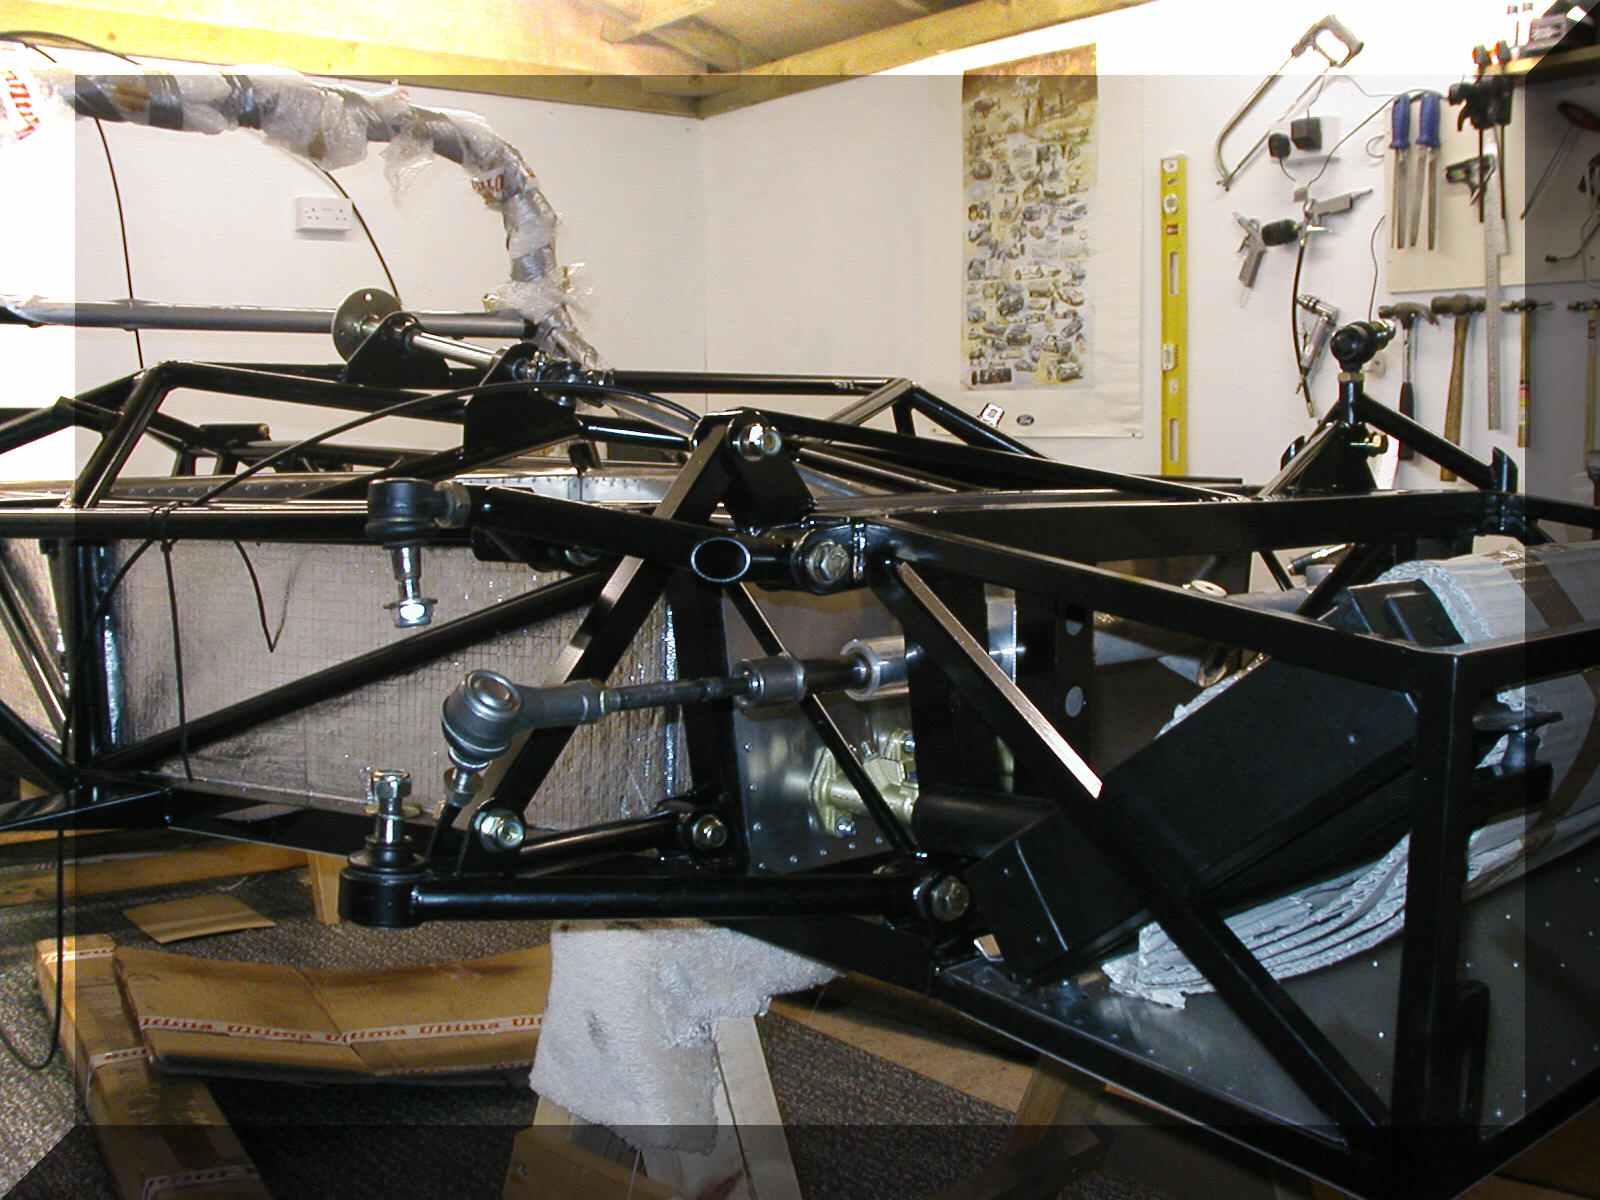
Also I have stuck heatmat to the sides of the cockpit (as well as sound deadner pads!)

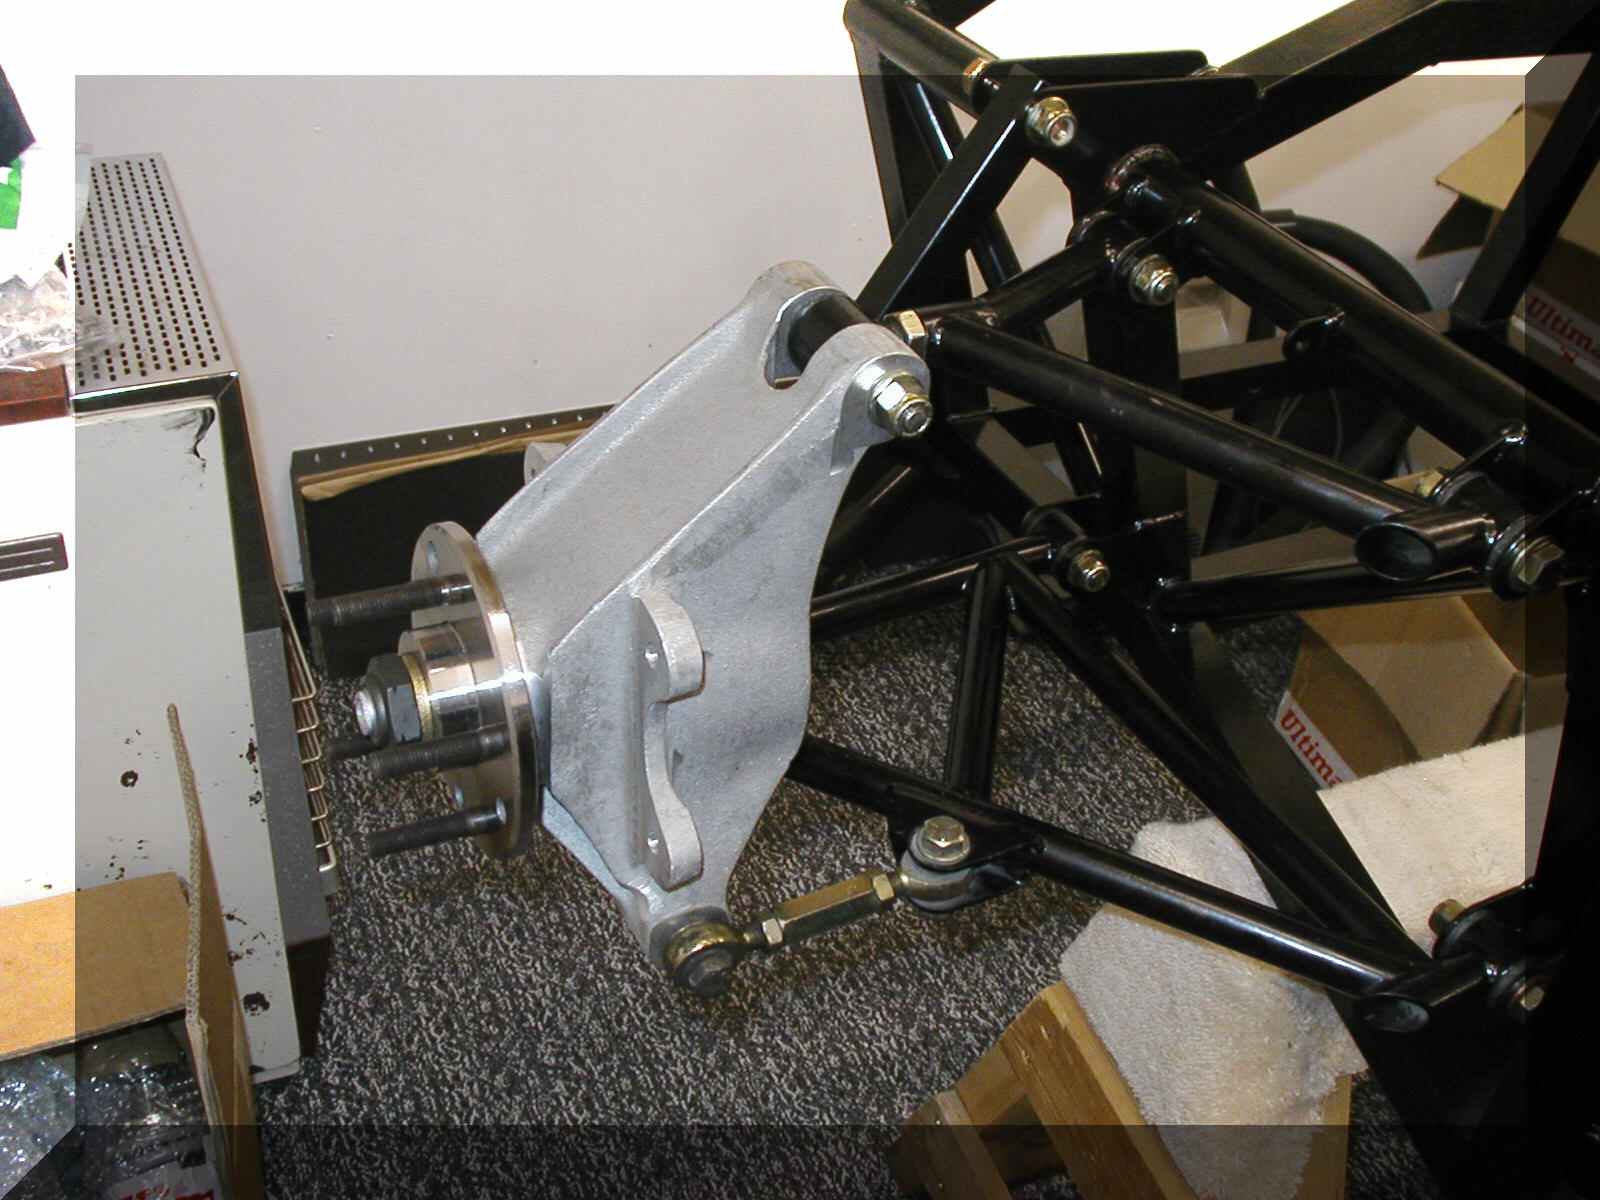
Next job will be to attach the uprights and to wrap the coolant pipes in exhaust wrap.
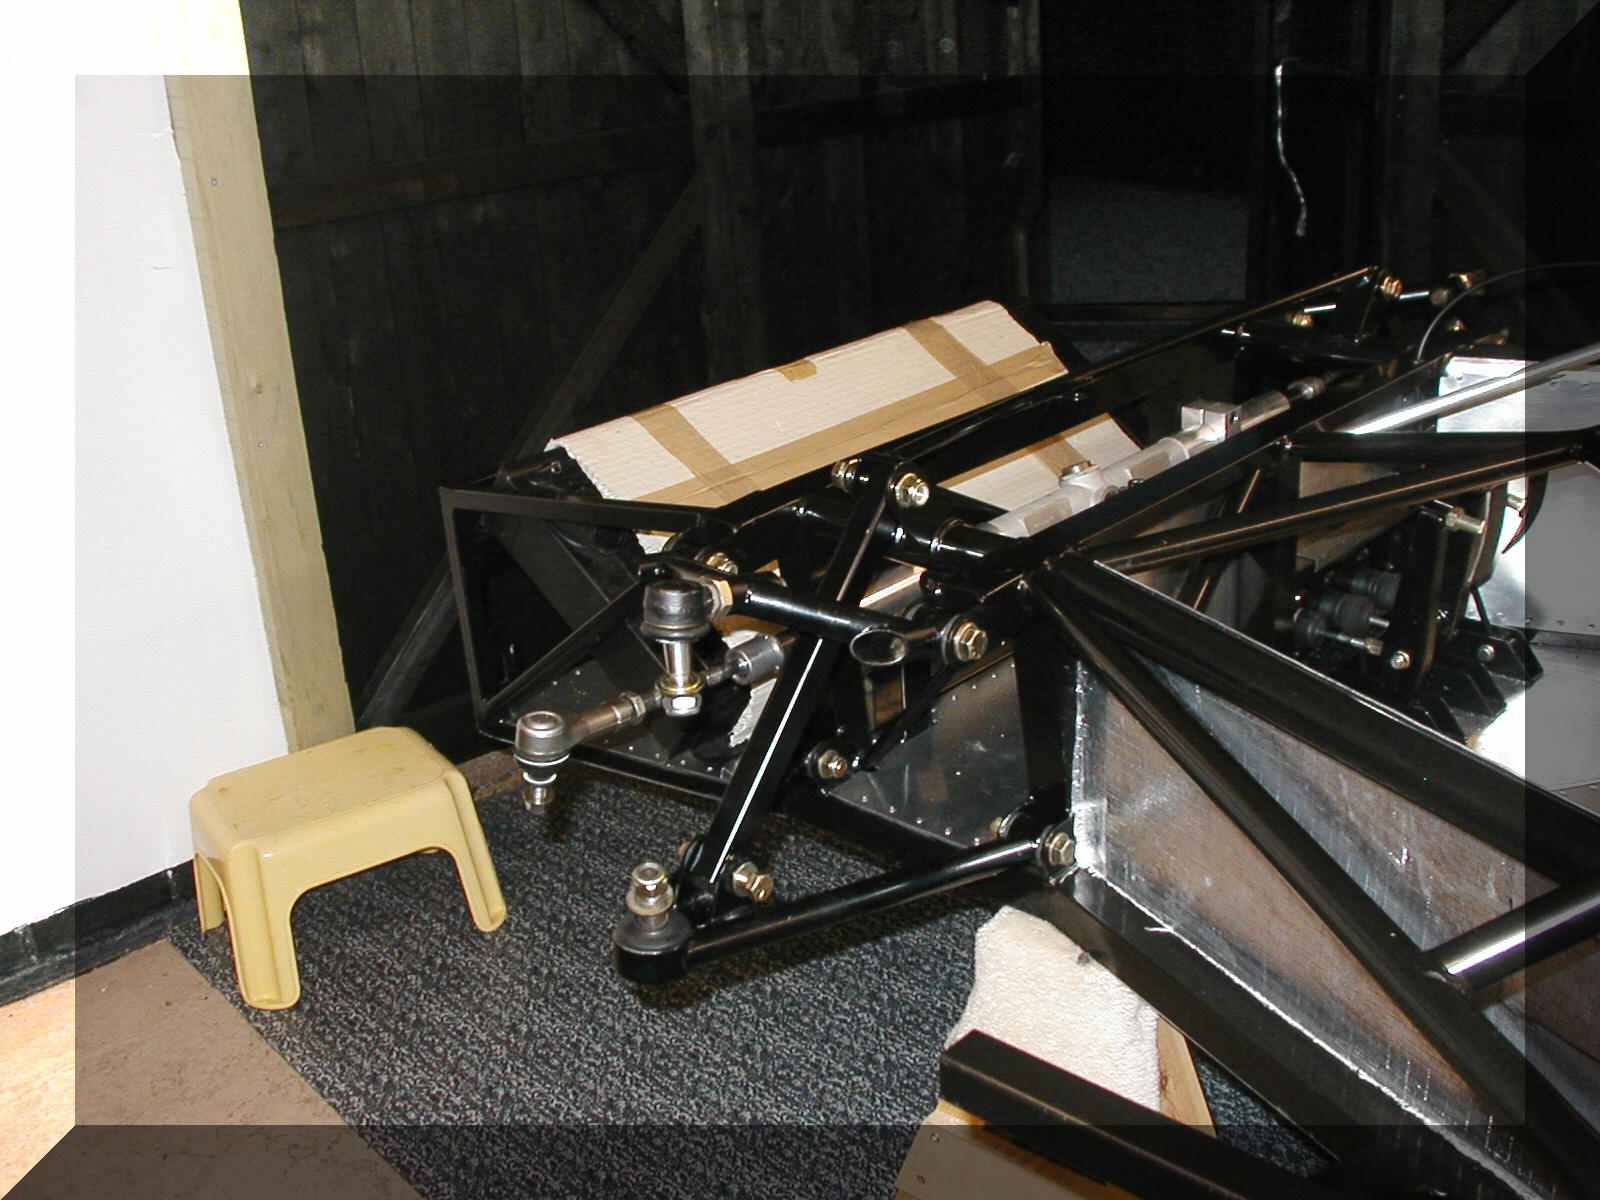
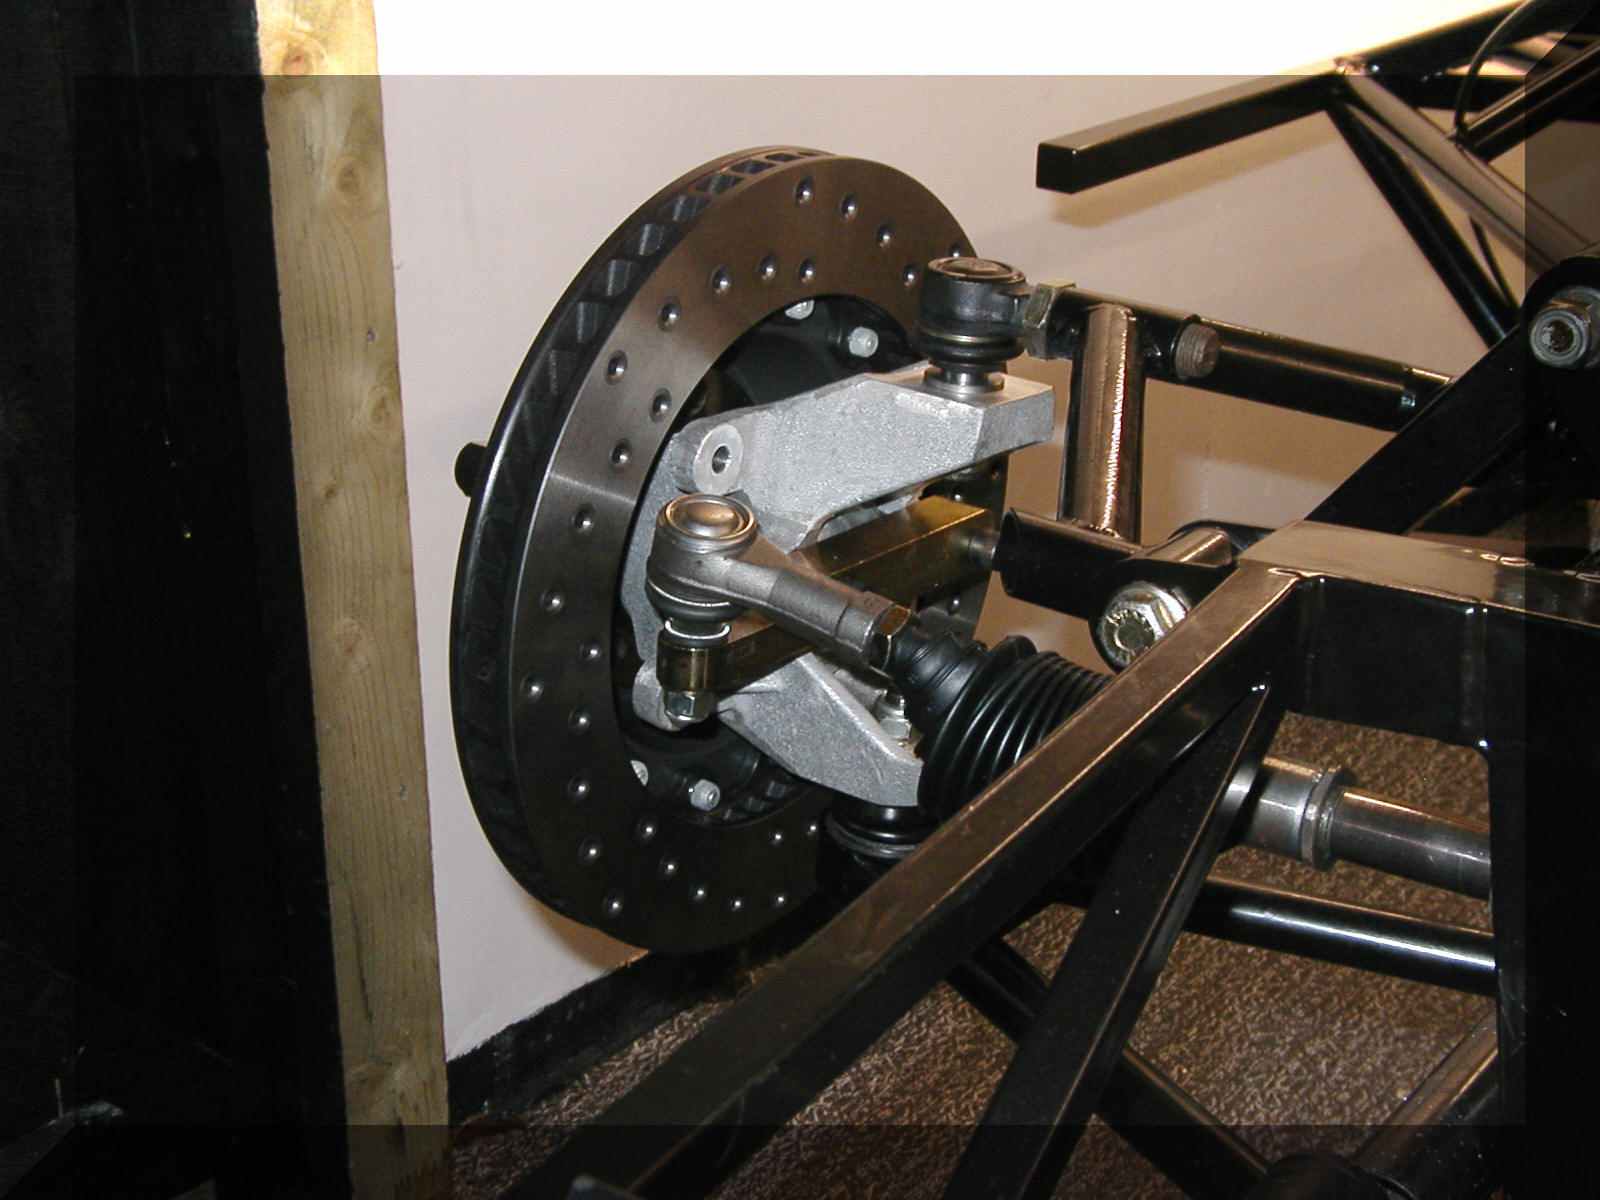
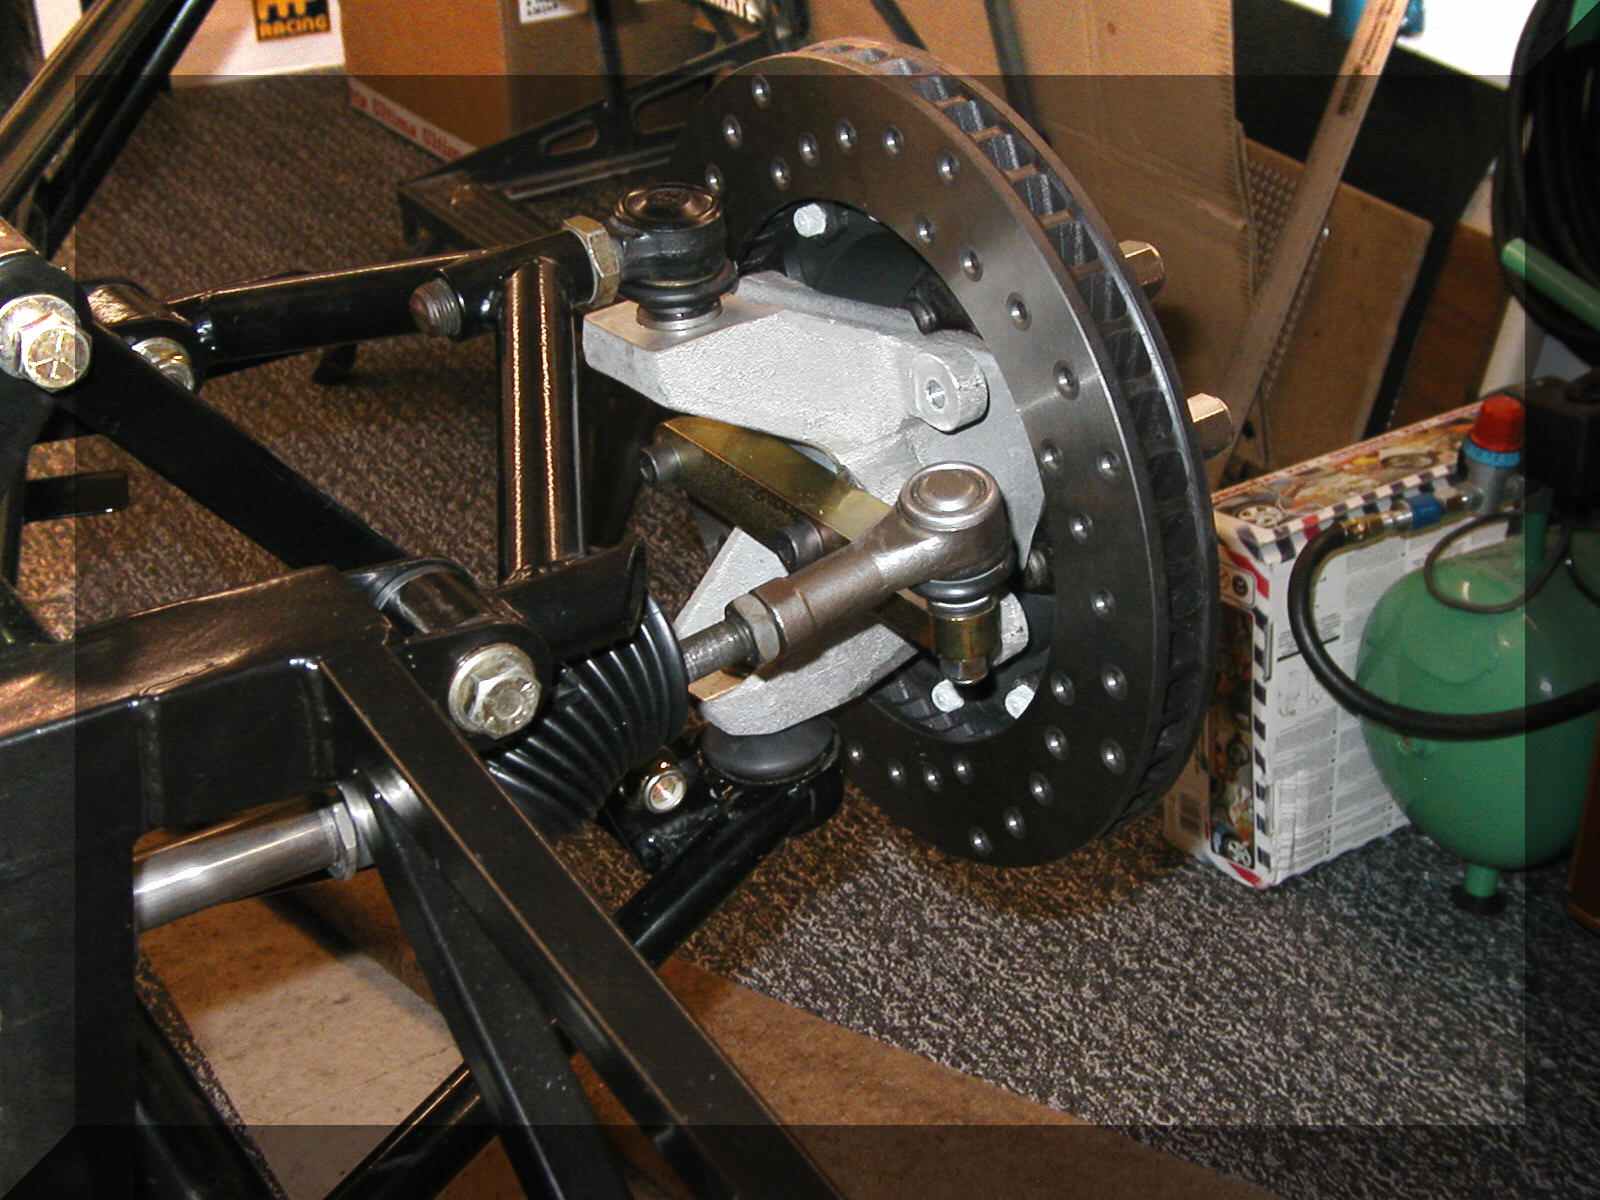
Started to wrap the coolant pipes in exhaust wrap but run out.........waiting for a delivery from Merlin Motorsport, meanwhile I have fitted the uprights and hubs, straight forward operation following the build manual.
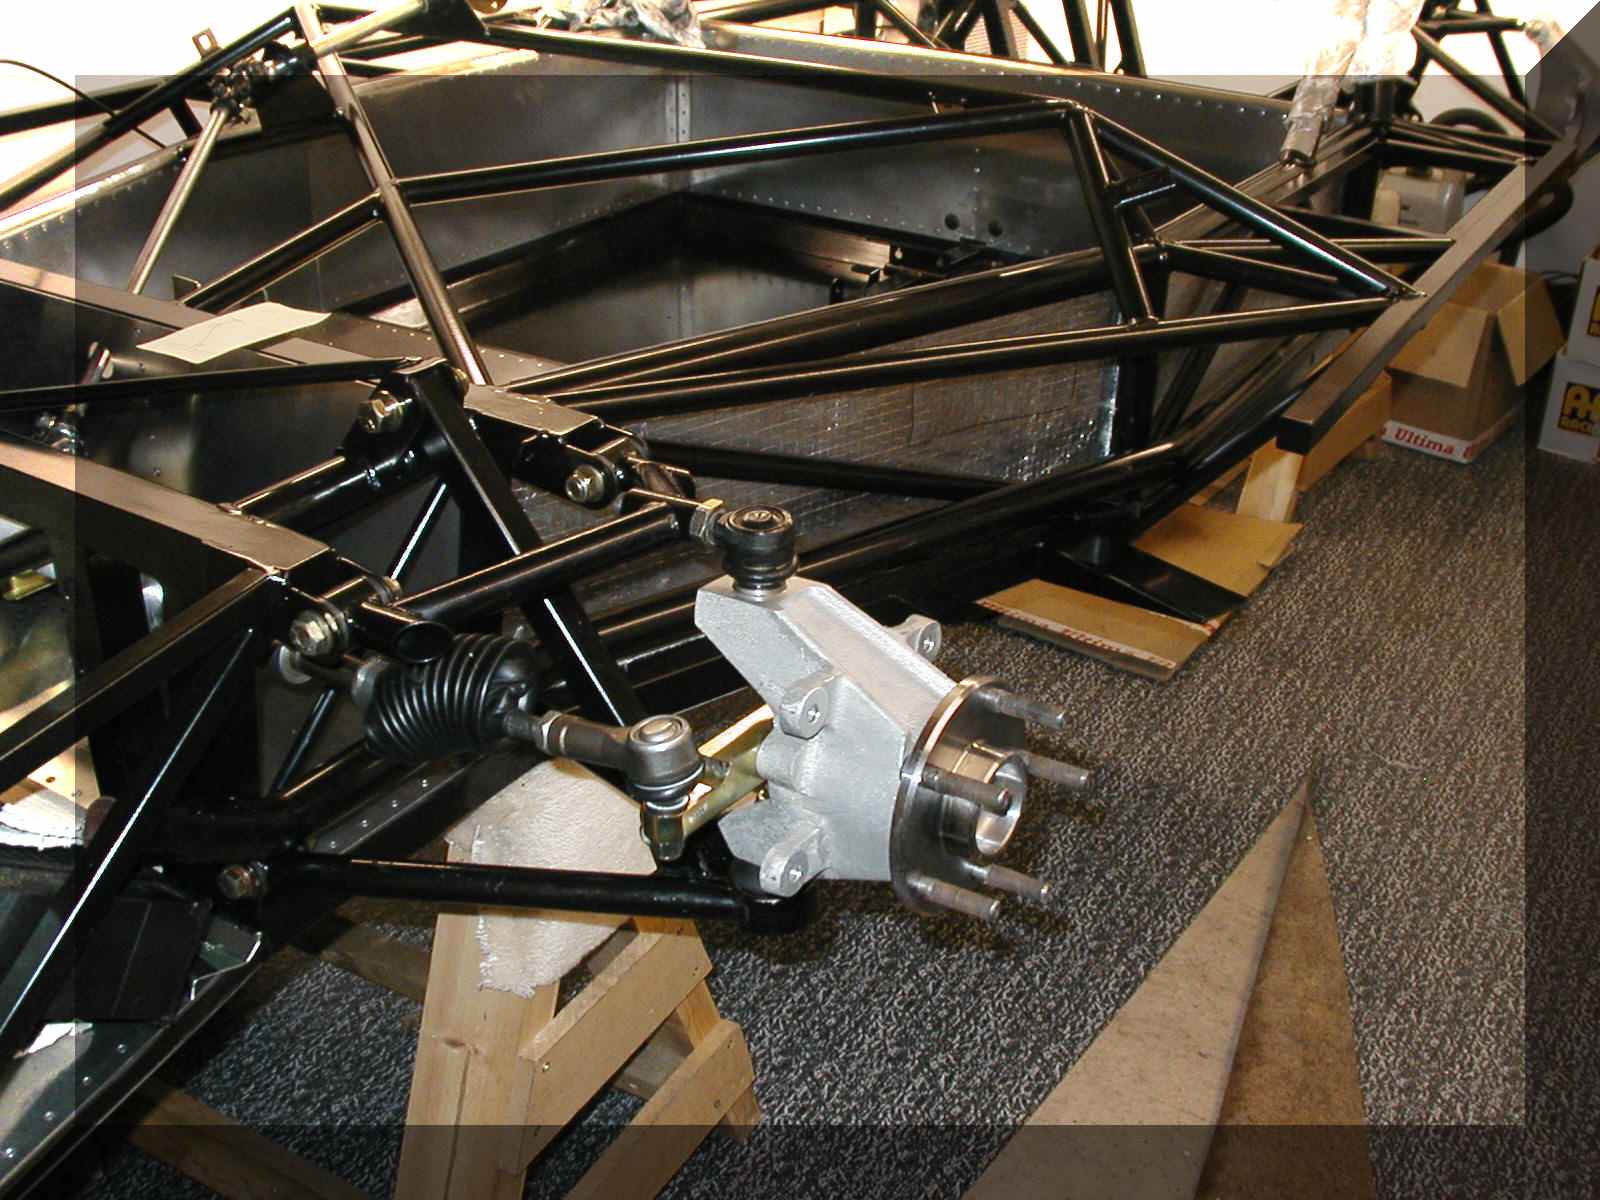
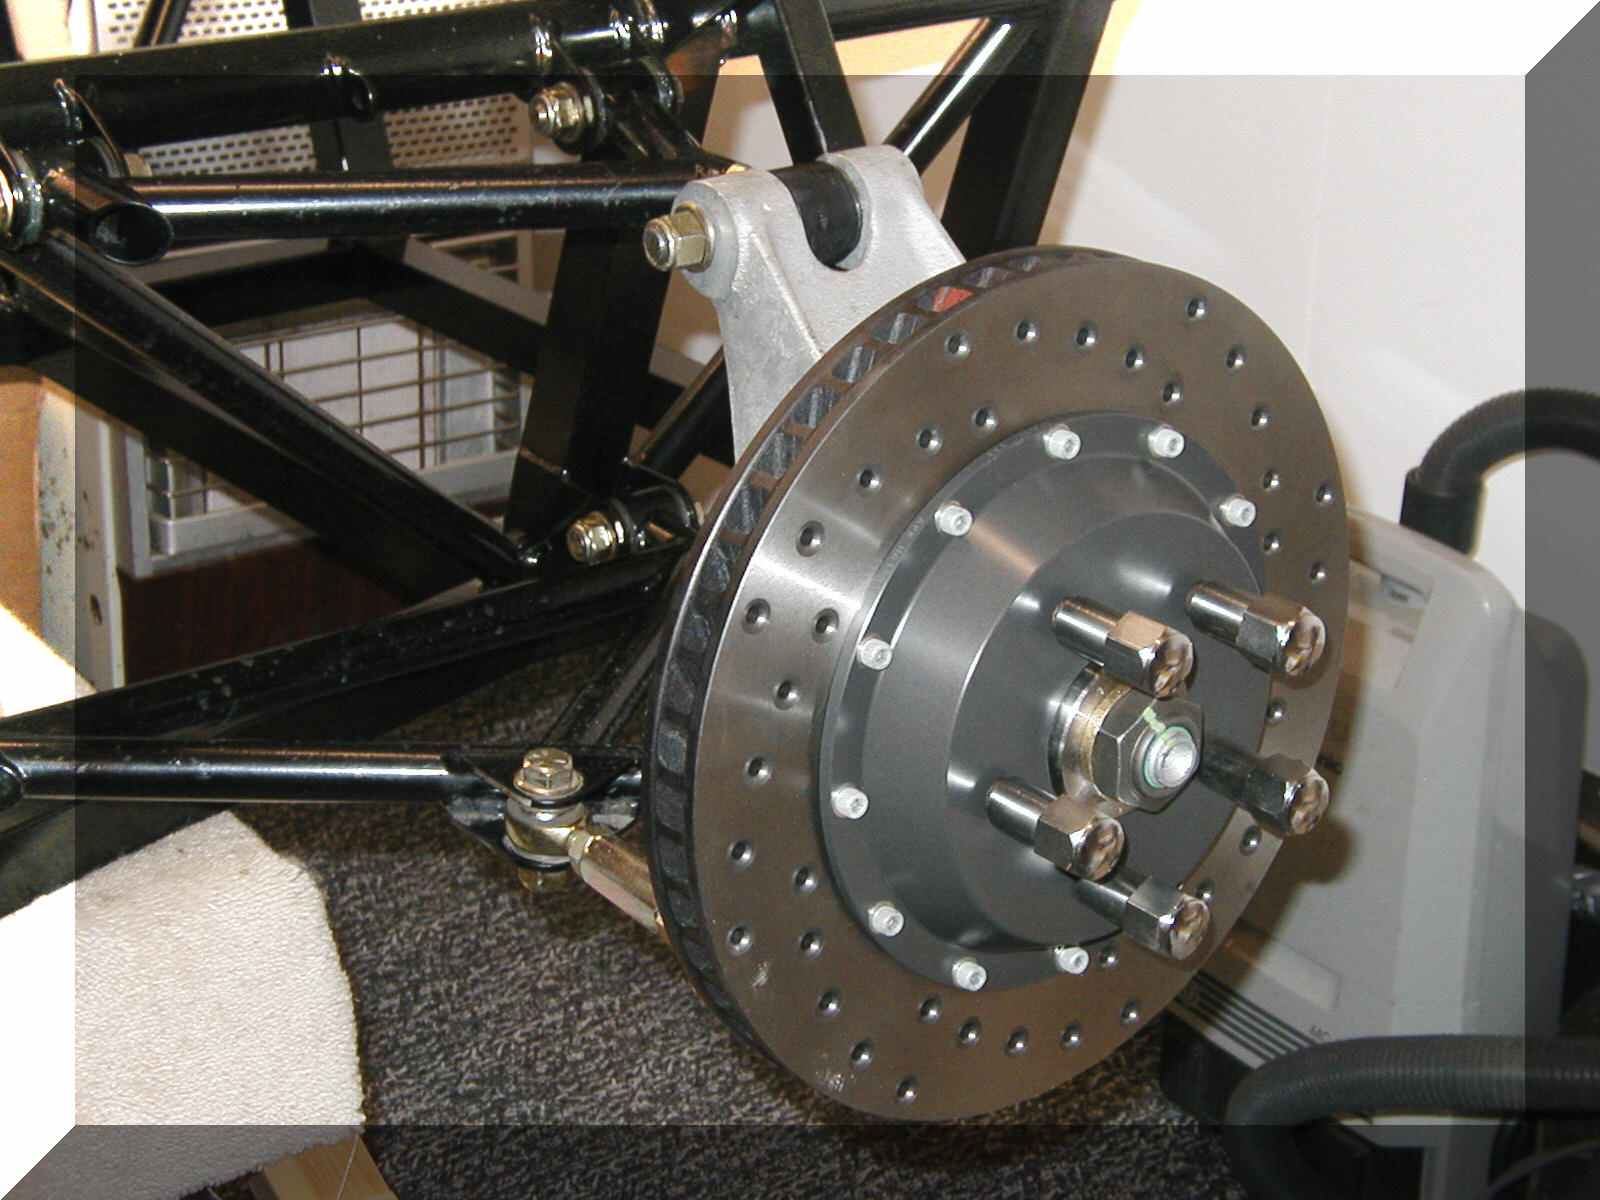
Starting to look a bit more like it, next up decided to fit the AP disc's (just couldn't resist any longer!) they do look the business.....
It seems that the next job before anything else is going to be wheel alignment, not something I'm looking forward to but better to do it now while there's still room to make adjustments.
While I'm reading up on the alignment process and finding some 1 x 1 angle, I make a start on the radiator drilling and riveting the brackets to hold the fans against the face of the radiator. A bit nervous about drilling so near to the core (Andy said I wouldn't be the first to drill a hole through) but a piece of scrap alloy from the floor panel to cover the fins while drilling and alls well. (phew!!)
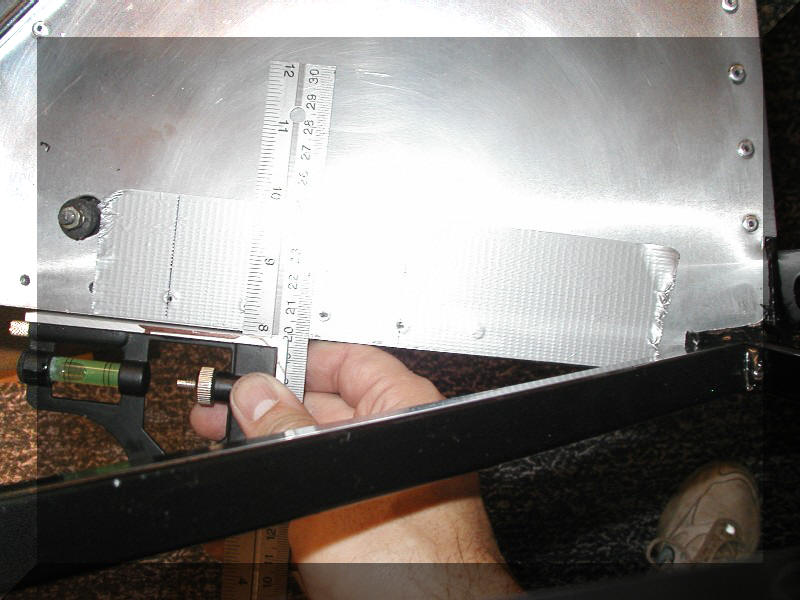
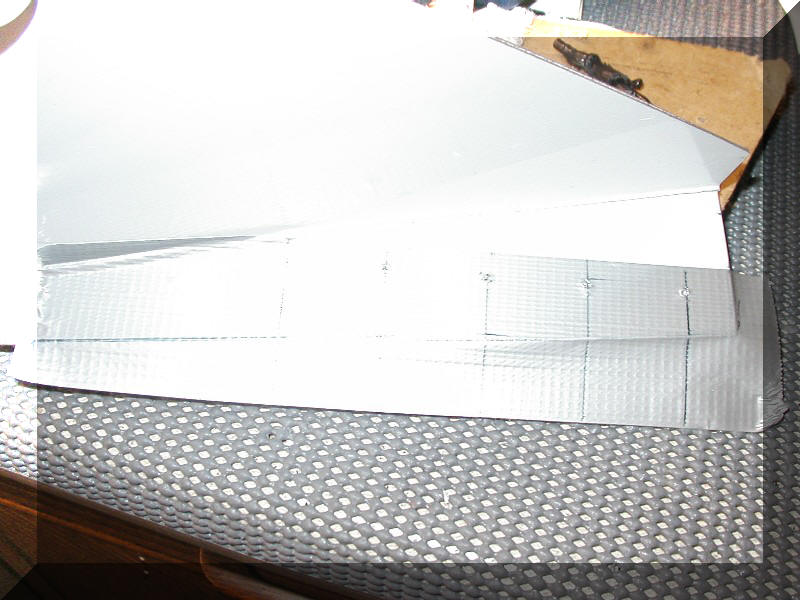
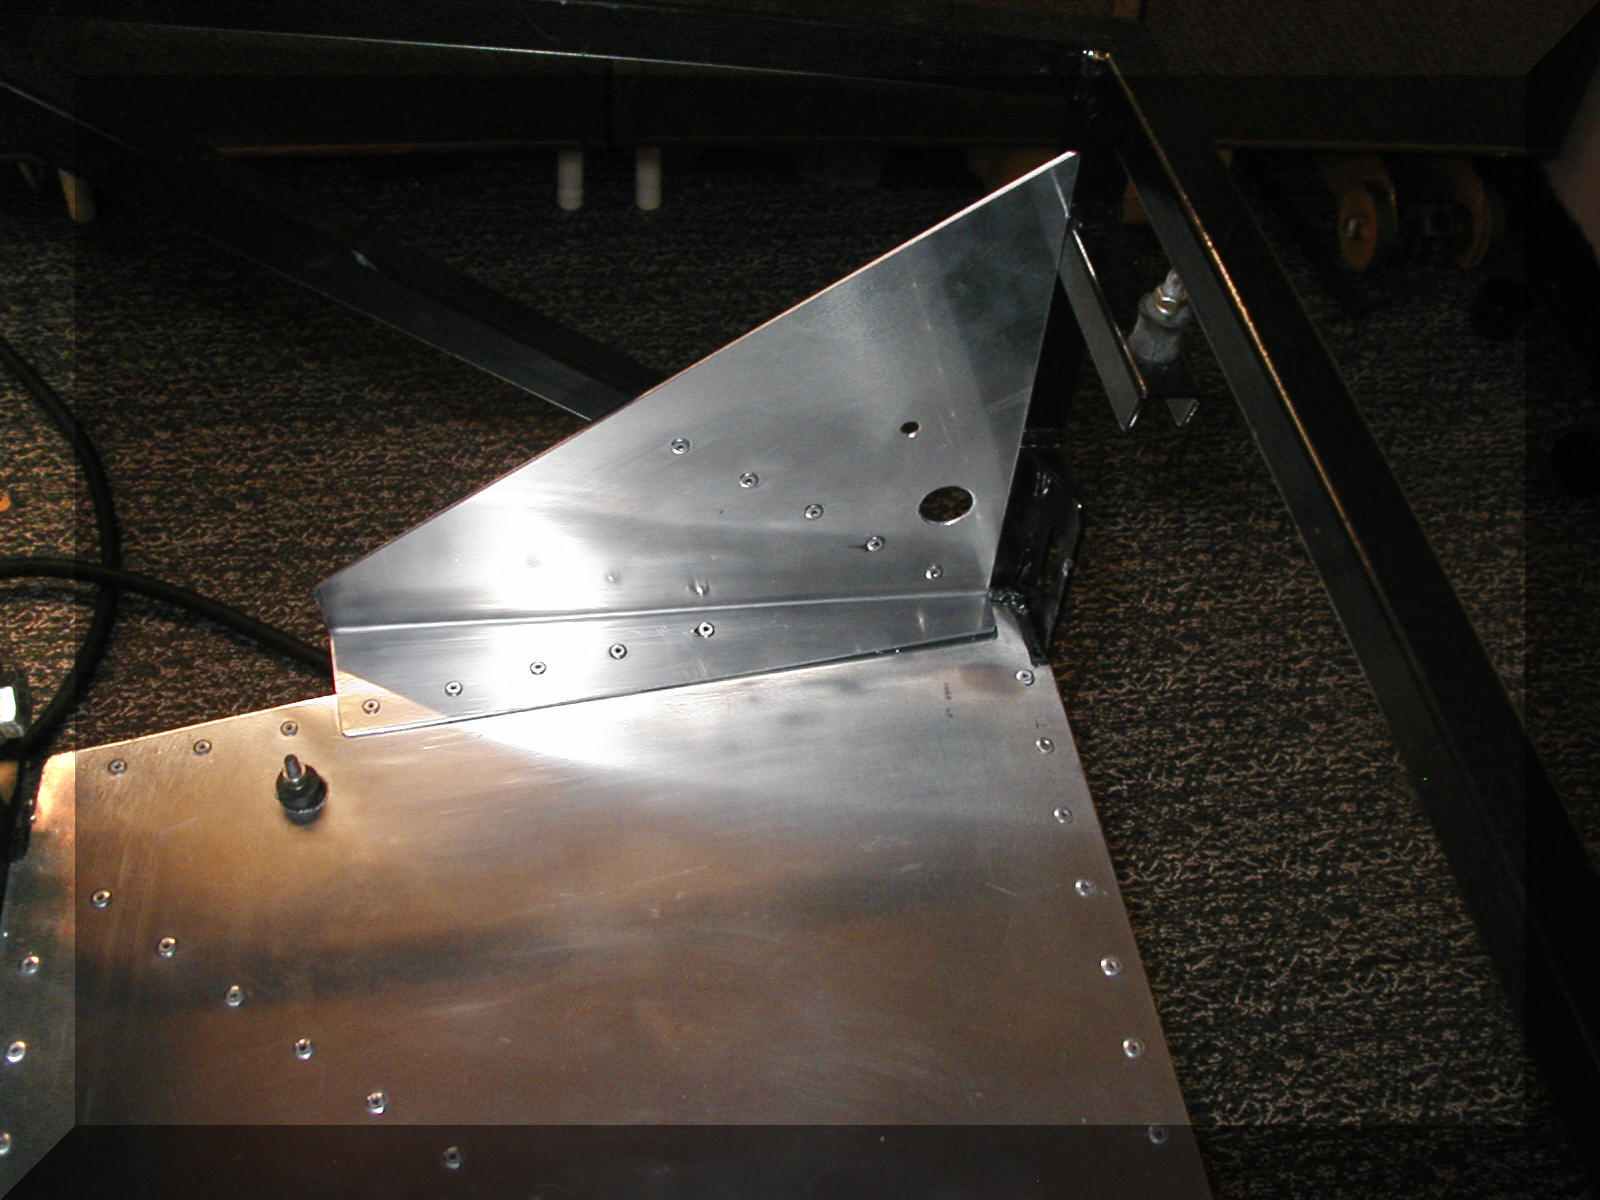
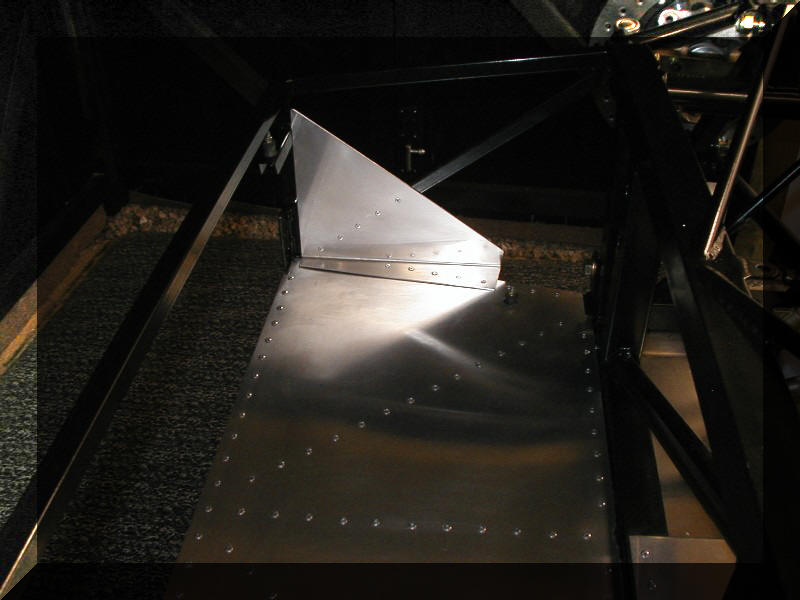
Next are the triangular side panels I admit to stealing the idea from BobM's site for the way to fix these to the floor and sides, only I used gaffer tape instead of masking tape as that's all I could find at the time.
Basically mask the rivet holes in the radiator panel that you didn't rivet (!) and mark the hole centres, then place the panel in position and mark around it, then transfer the tape to the panel and centre punch the holes. These should now line up the the original holes!!!!! Well my did anyway!